Download Helpdesk allows NAS administrators to directly submit technical support requests or to suggest new features to our support team. For certain technical issues, a remote support session may be required. For these issues, you can enable a remote support session for our support team to directly solve your issues over the Internet.
The general troubleshooting process with Helpdesk is as follows:
1.
You submit a help request in Helpdesk.
2.
The QNAP technical support team contacts you via email or phone to resolve your issues.
3.
If a remote support session is required, the QNAP technical support team will notify you with relevant session details.
4.
You enable Remote Support in Helpdesk using the remote support ID.
5.
The QNAP technical support team troubleshoots and resolves the reported issues.
6.
If the issues cannot be resolved over the remote support session (one session is valid for 7 days), the QNAP support team will request an extension via email.
7.
You extend the support session.
8.
The QNAP technical support team notifies you that the issues have been resolved both in "Helpdesk" > "Remote Support" and via email.
In this chapter, the following topics are covered:
This function (or its content) is only available on certain models.
•
Please consult user guides, FAQs and application notes before requesting assistance.
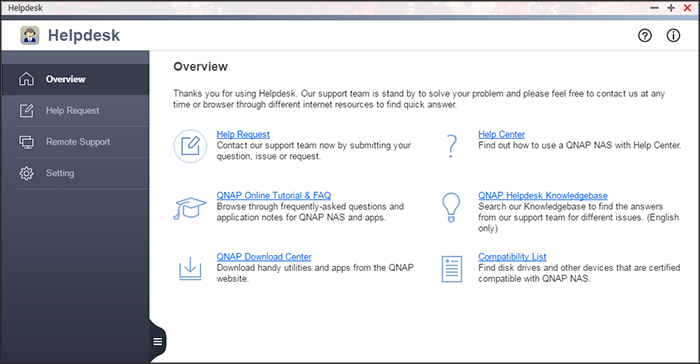
Starting Helpdesk
Click the Helpdesk shortcut on the QTS desktop to launch it. If this shortcut is not available, please go to "App Center" and install and enable Helpdesk (for QTS 4.2.2 or newer).
Submitting a help request
Follow these steps to submit a help request from your NAS:
1.
Ensure your NAS can reach the Internet.
2.
Go to "Helpdesk" > "Help Request".
3.
Fill out the ticket details. In the message field, please include the following information if possible:
o
Error message.
o
Time and date the error occurred.
o
The device, applications, and operating system that you used to access your NAS when the error occurred.
o
Steps to reproduce the error.
o
If the nature of your enquiry is product improvements or recommendations, please enter usage scenarios and similar products or functions and features in this field.
4.
Choose to allow system logs to be sent to QNAP, upload other information such as the steps necessary to reproduce the error
5.
Upload relevant screenshots or files.
6.
Click "Submit".
The support team will contact you shortly with the email address you provided.
Note: Only NAS administrators can submit requests using Helpdesk.
Enabling remote support
Following these steps to enable remote support:
1.
Ensure your NAS can reach the Internet.
2.
Go to "Helpdesk" > "Remote Support".
3.
Enter the ticket ID and the email address you used for submitting that ticket.
4.
Click "Enable Remote Support".
5.
You must read and agree to the Terms of Service to use remote support.
6.
Click "Confirm".
If the issues cannot be resolved over one remote support session, our technical support team will email you with a request to extend the support session. Please click "Extend a week" in the "Remote Support" page. After the issues are resolved, a message will be displayed on the "Remote Support" page and our technical support team will additionally email you details regarding the reported issues.
Note:
•
One support session lasts 7 days starting from the time you click "Enable Remote Support".
•
Only the ticket specified by the QNAP support team can be used to enable Remote Support.
•
The helpdesk.qnap.com ports 22, 443 must be unblocked to allow our support team to connect to your NAS.
•
Before allowing our support team to connect to your NAS, it is recommended that you back up, move, or encrypt your data. To encrypt a shared folder, go to "Control Panel" > "Privilege Settings" > "Shared Folder" > "Edit Properties"
Configuring Helpdesk settings
You can configure the Helpdesk settings by going to "Helpdesk" > "Settings". The settings include your location and the option to allow system logs to be sent to QNAP.