Connecting to a Wireless Network
-
Select a wireless network from
the list.
Icon
Description

The Wi-Fi network requires a password.

Connect to a Wi-Fi network without a password.

-
The Wi-Fi connection cannot access the internet.
-
The Wi-Fi connection requires an additional login.
Tip:QTS does not support networks that require an additional login.
The settings panel expands.
-
- Optional:
Configure connection
settings.
Setting
User Action
Password
Enter the password provided by the network administrator.
Tip:Click
 to make the password
visible.
to make the password
visible.Connect automatically
Automatically connect to this network whenever it is in range.
Connect even if hidden
Attempt to connect to this network even if the SSID is hidden.
The device connects to the wireless network.
Connecting to a Captive-Portal-Enabled Wireless Network Using Browser Station
A captive portal allows organizations to easily share their network environment with customers, employees, and other guests.
QTS supports the captive portal function that connects to the internet through an access point in the wireless network.
Download and install Browser Station from App Center to access the captive portal functions.
Alternatively, QNAP recommends installing Qfinder Pro (6.9.2 or later) to utilize the captive portal function on a wireless network.
For details, see Connecting to a Captive-Portal-Enabled Wireless Network Using Qfinder Pro.
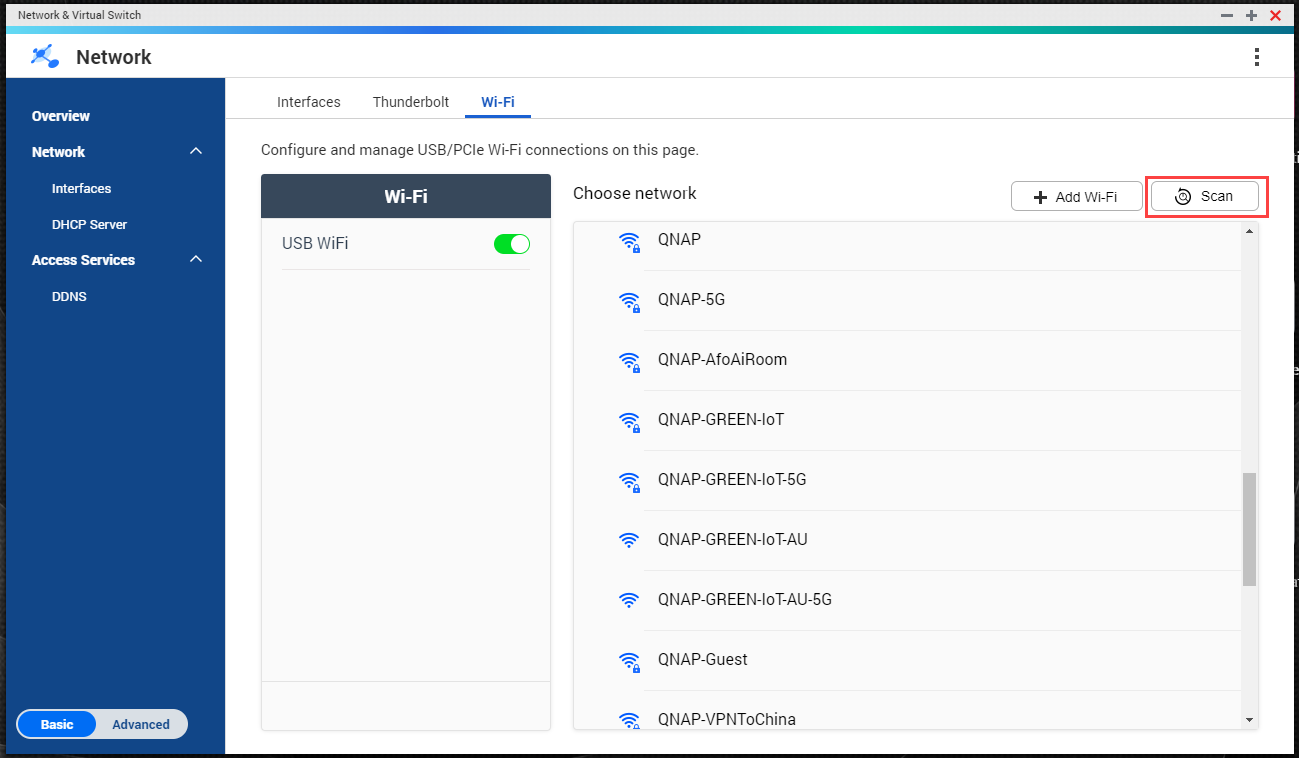
- Optional:
Click Scan to search
for accessible wireless networks with a captive portal.
-
Click Connect.
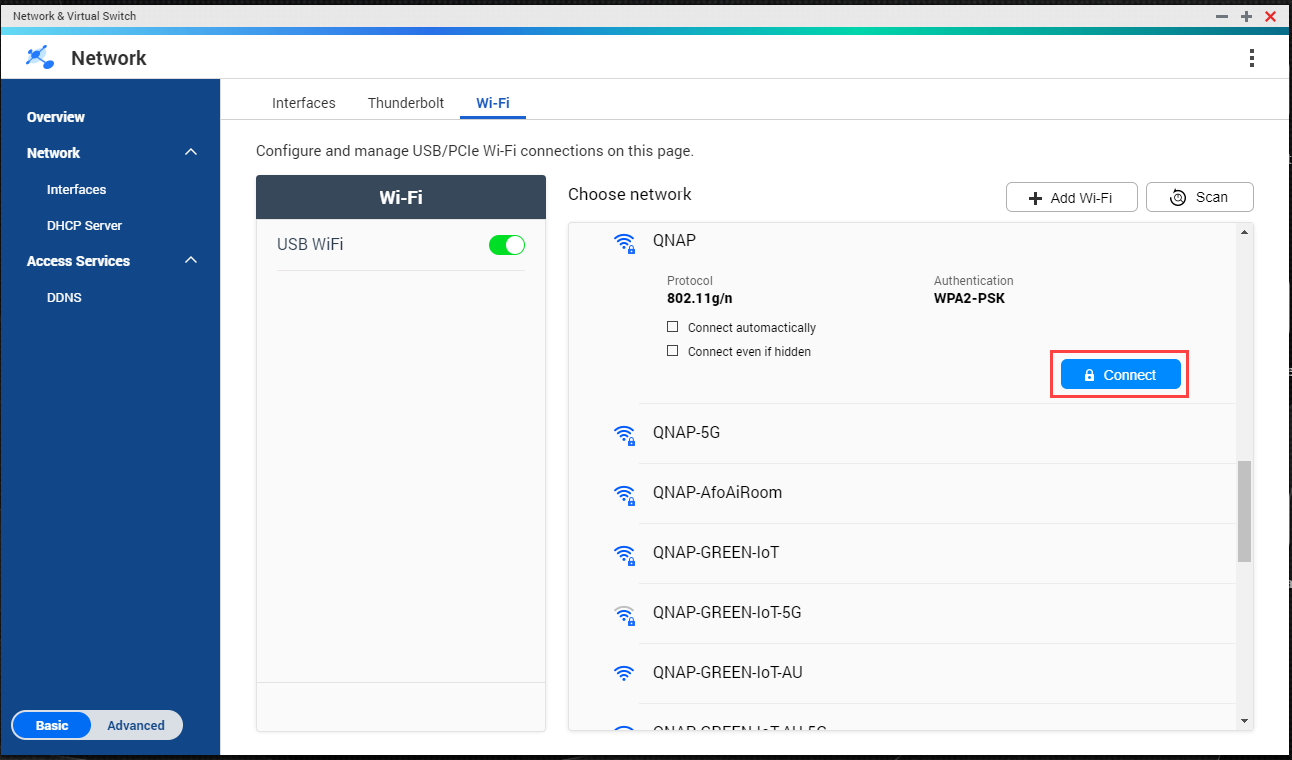
- Optional:
Configure connection
settings.

For configuration details and wireless icon descriptions, see Connecting to a Wireless Network.
-
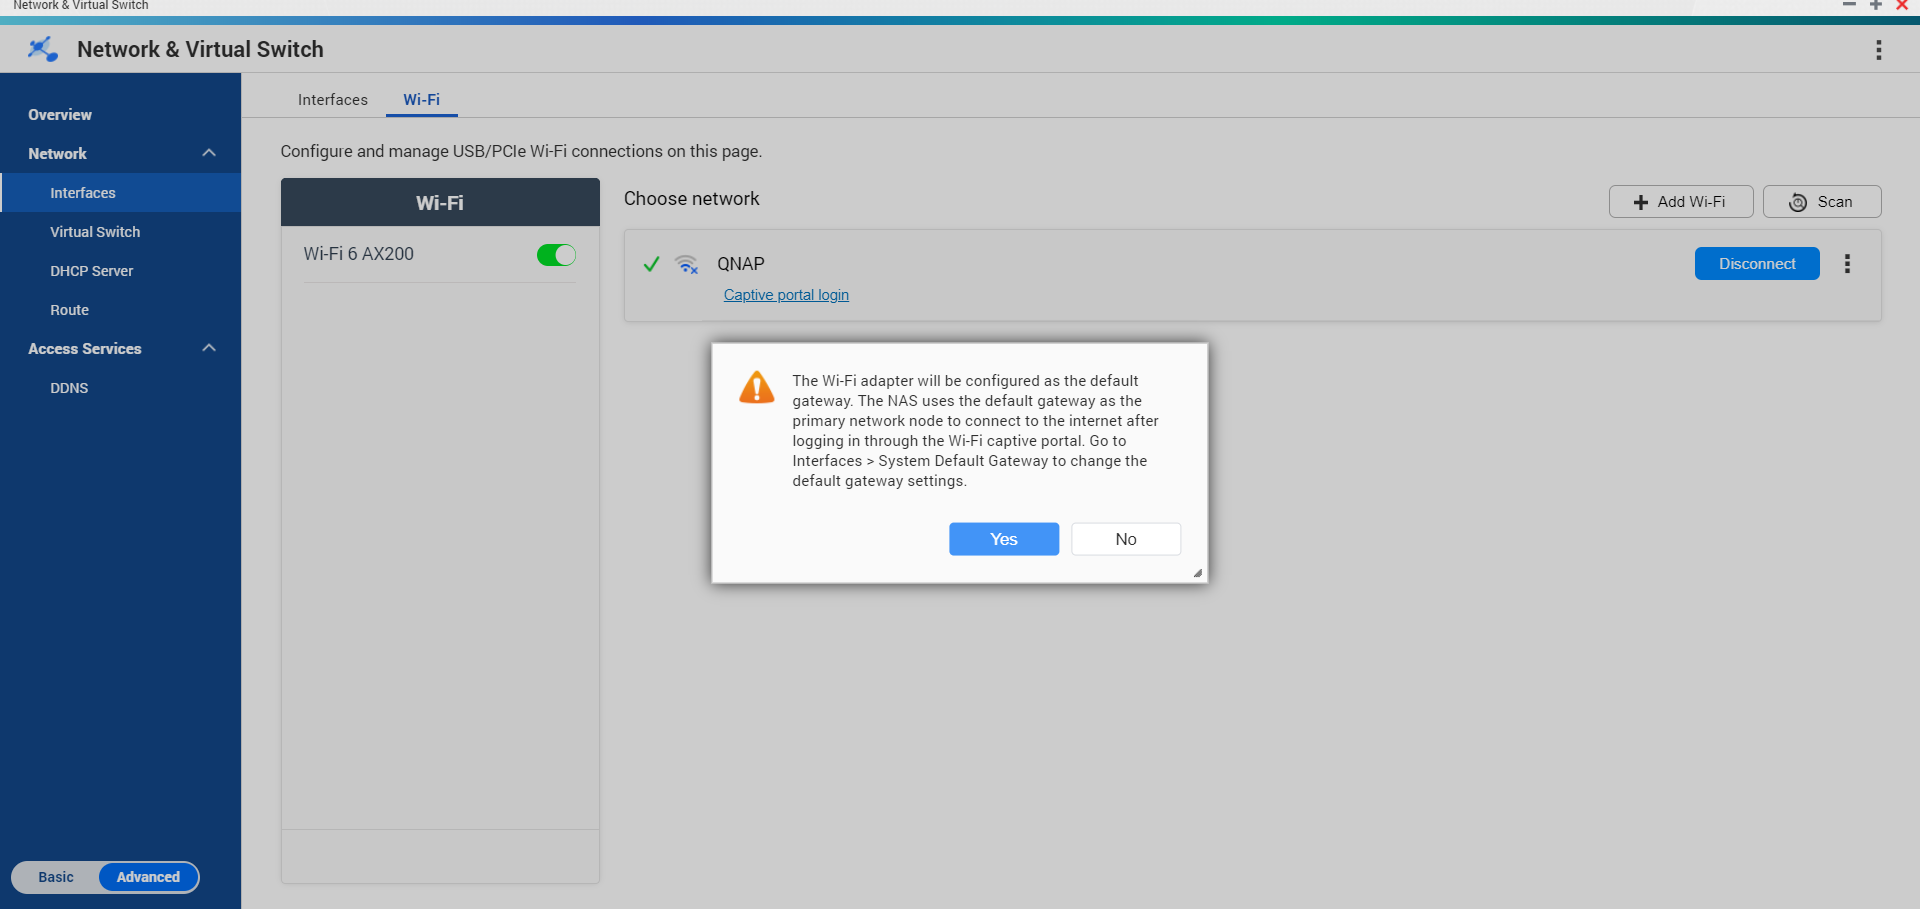
Click Apply.
A pop-up window opens specifying the change in the default network gateway.
-
Click Captive portal login.
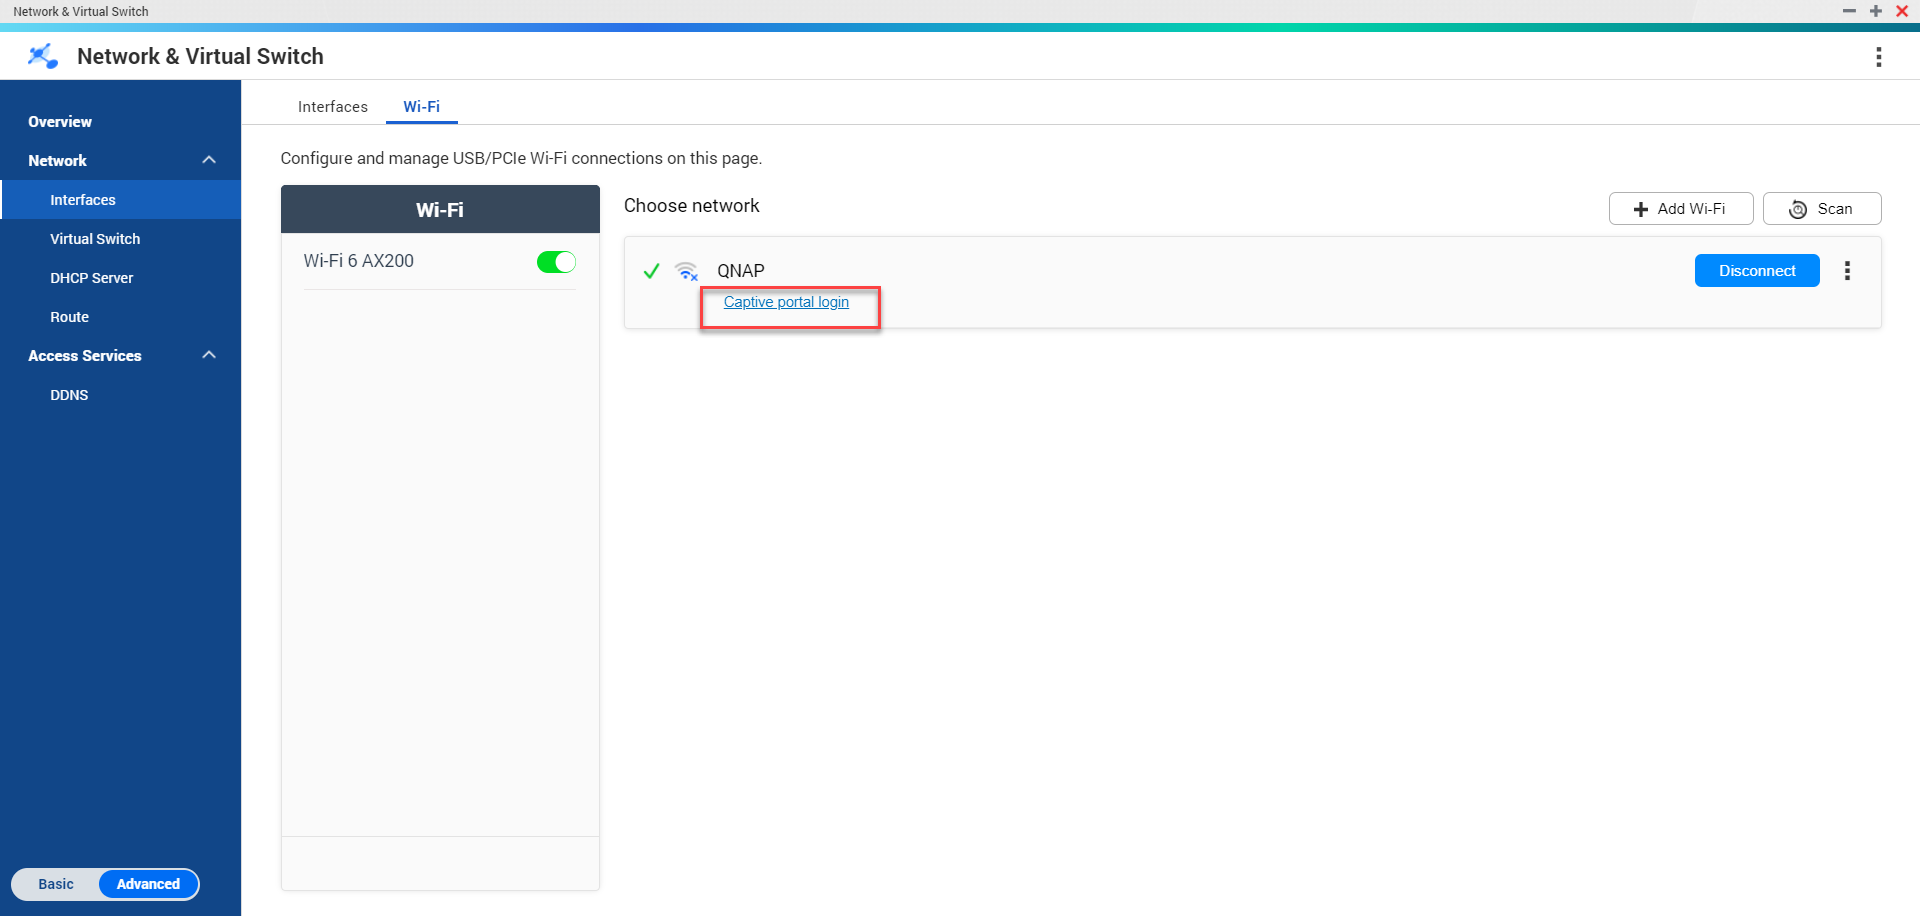
Browser Station automatically redirects you to the captive portal landing page.
Connecting to a Captive-Portal-Enabled Wireless Network Using Qfinder Pro
QNAP recommends installing Qfinder Pro (Windows 6.9.2 or later and MacOS/Linux 7.3.2 or later) to utilize the captive portal function on a wireless network.
Connect the NAS directly to the PC using an ethernet cable in order to connect to a wireless network enabled with captive portal.
-
Locate the NAS in the list and
click the unconfigured Wi-Fi icon
 located under the Status table header.
- Optional:
Alternatively, select the NAS
and go to .
The Login page opens.
-
Click OK.
The Wi-Fi Connection Settings page opens.

-
Click Apply.
A pop-up window opens.

-
Enter the username and password
to connect to the wireless network.
Qfinder Pro displays the wireless connection icon
 in the Qfinder Pro NAS status panel.