Note:
QNAP recommends installing Qfinder Pro (Windows 6.9.2 or later and MacOS/Linux 7.3.2 or later) to utilize the captive portal function on a wireless network.
Important:
Connect the NAS directly to the PC using an ethernet cable in order to connect to a wireless network enabled with captive portal.
-
Locate the NAS in the list and
click the unconfigured Wi-Fi icon
 located under the Status table header.
- Optional:
Alternatively, select the NAS
and go to .
The Login page opens.
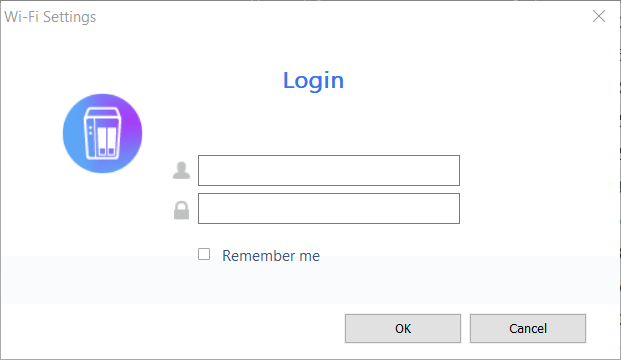
-
Click OK.
The Wi-Fi Connection Settings page opens.
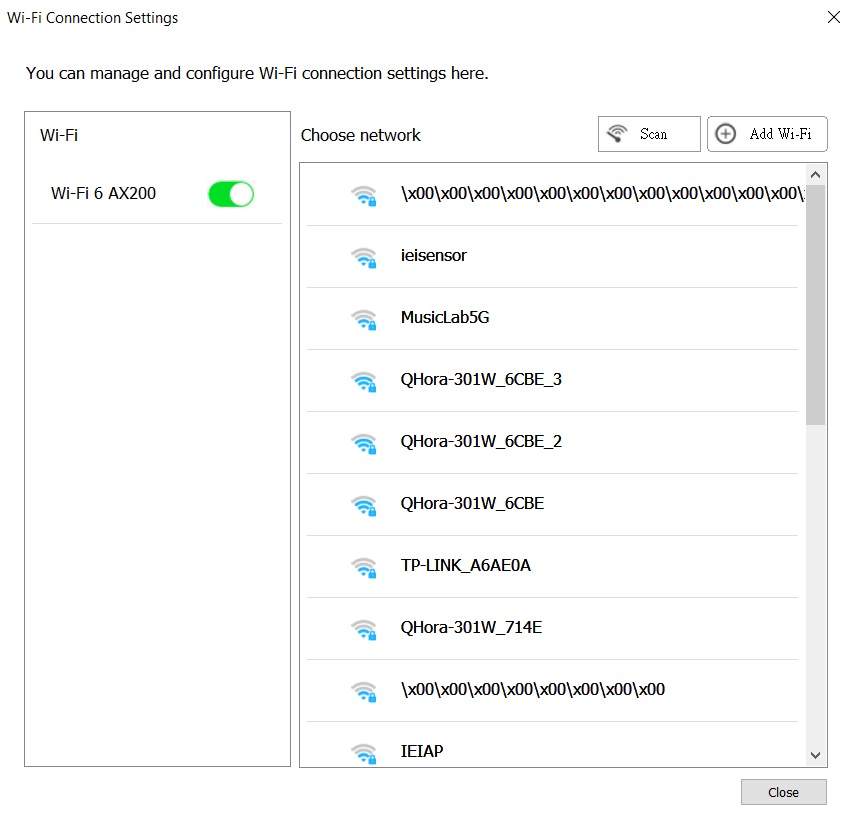
-
Click Apply.
A pop-up window opens.

-
Enter the username and password
to connect to the wireless network.
Qfinder Pro displays the wireless connection icon
 in the Qfinder Pro NAS status panel.